Chocolate Syrup

Chocolate.


Is there anything more comforting, delicious, or decadent than chocolate?  Just the word gives me warm fuzzies.  Yeah, I know, kinda pathetic, but I can’t help it.  I was raised by a man whose love for chocolate was surpassed by his love for God and family.  My sisters and I all love it close to as much as he did.  My mom likes the smell of sour mop and root canals, so let’s just say she probably doesn’t care about chocolate as much as we did.  We were definitely introduced to a love for the sweeter things in life from dear ol’ dad.


Now Milkman?  Oh my goodness, Mr. Sweet Tooth himself.  He loves him some sugar, more than I do.  Milkman likes chocolate syrup.  He puts it in his chocolate milk, ice cream shakes, and his amazing Saturday mochas he makes me.  My mother never bought chocolate syrup, so I have cringed a little at the thought of it because it says “Chocolate Flavored Syrup.”  Why is it chocolate FLAVORED?  That strikes me as kind of nasty, doesn’t it you?


I’ve talked about my mother making coffee for the grandkids that is mostly milk, chocolate syrup, and whipped cream with a little coffee, but my mom never gives the kids processed stuff, so I asked her where she got her chocolate syrup and she informed me, she makes it herself!  This was a weird concept to me, not because she made it from scratch–my mom makes everything from scratch, but I’ve just never thought to make my own chocolate syrup.


I ordered some cocoa powder on Amazon last week (By the way, buying your cocoa powder as an add-on item on Amazon is the cheapest way to get cocoa powder, click here for the link.  Way cheaper than the grocery store).  It comes in a giant container, and you can make allllll the chocolatey things with that much cocoa powder on the cheap, so I decided to make a grip load of chocolate syrup, and let me tell ya… It’s a beautiful thing, my friends.  Rich, thick, delicious and definitely CHOCOLATEY, not chocolate FLAVORED.


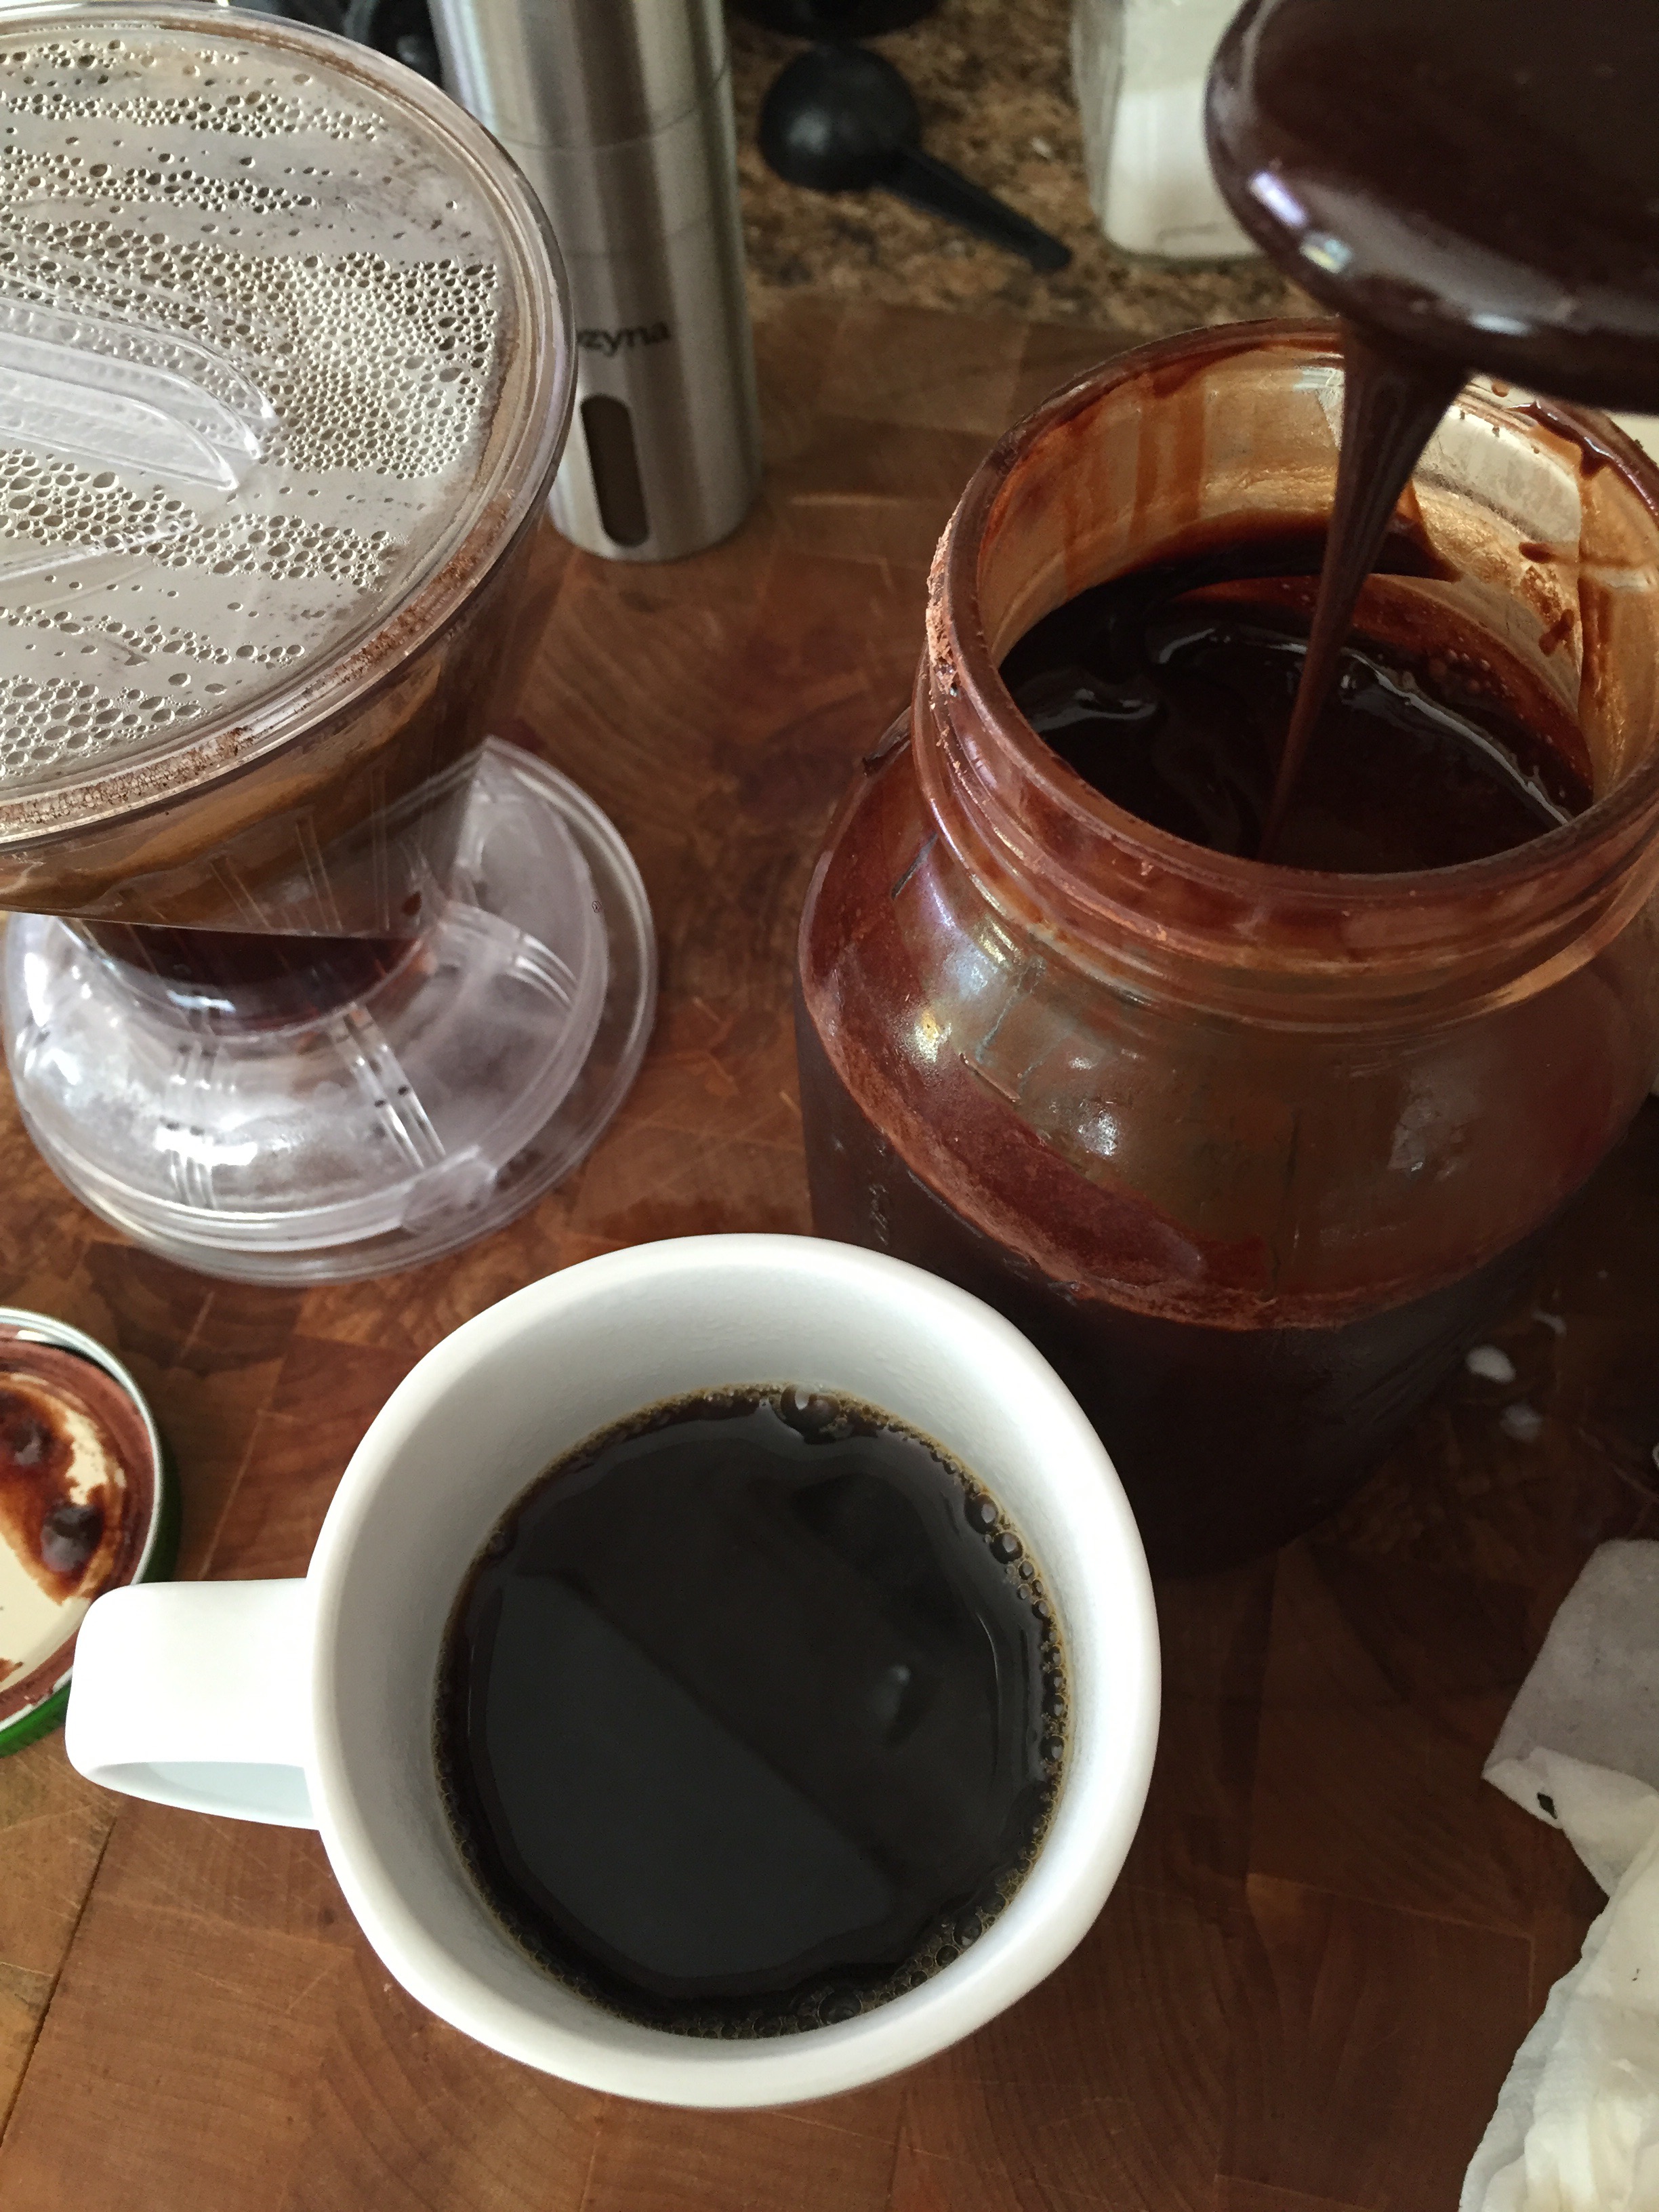
I’ve been putting it in my coffee with cream, or in my espresso for a yummy mocha, drizzled on ice cream, or yes– even just plain old bad for you chocolate milk.


Here’s how I made it:

1 1/2 Cups of Water

3 Cups of Sugar

1 1/2 Cups of Cocoa Powder

1 1/2 Tablespoons of Vanilla Extract

Good Pinch of Kosher Salt


In a pot, mix together the water and the sugar until boiling and a syrup forms.  As it begins to boil, whisk in remaining ingredients.  (It can get a little messy if your pot isn’t very big, cocoa powder kinda gets everywhere!)  Whisk til smooth, and simmer til slightly reduced.  Pour into a heat proof container (I always have a million glass jars hanging around, so that’s what I used.) and let cool on the counter.  It’ll reduce as it sits and thicken up.  Once it is cooled, throw it in the fridge.  Pour onto and into ALL the things, live in chubby bliss.


An Experiment in Vegetarianism

Food. Β Glorious FOOD! Β I love food. Β Milkman sells food. We love to cook good food. Β Food is a big deal in our home, and if you follow me on Instagram you will see that I am also one of those annoying people who loves to post pictures of her food (and of her beer).


So, now that we have established that you are talking to someone who really appreciates good food, I gotta tell you about one of the saddest things that happens to me during pregnancies and has thus far lasted. Β No! Β Not just the physical disability I struggle with on a daily basis, I can rock a cane with confidence. This has to do with food. Β 


I deal with constant nausea during my pregnancies and serious food aversions and even develop food allergies. Β During Mamitas’ pregnancy I developed an allergy to raw powdered sugar. Β It didn’t go away, I am allergic to buttercream frosting… And all uncooked frosting for that matter. Β Totally sucks. Β During Peach’s pregnancy, Milkman made me a lovely surf and turf Valentine’s dinner, complete with lobster tail, and guess who went all kinds of Will Smith on Hitch and had to drink benadryl while she horfed and asphyxiated? Β Yeah, me. Β I still can’t eat shellfish.


hitch


While I had food aversions with all 4 of my pregnancies, none have been so lousy as I had with Peach, because they stuck around. Β No more strong cheeses for me (for the foodie who loves her some good wine, this is tragic). Β I don’t appreciate dark chocolate as much as I once did, and I’m only just getting back into cooking with onion again, recently. Β But! Β These things are all easily avoidable. Β What is not so easily avoided is meat. Β Well, guess what aversion hasn’t completely seen its way out the door? Β Yup. Meat. Chicken. Β Mhm, I know, super sucky. Β I was just coming around to chicken when my sister cooked up some chicken breast from my freezer and the texture was something akin to chewing on boneless fingers. Β I know, I know, WHAT? Β Yeah, it was nasty. Β And I can’t hang with chicken ever since.


I have been toying with going vegetarian on and off for a while. Β I had a vegan stint back in college (didn’t we all?), but I can’t live without dairy and eggs, so I knew I wouldn’t be able to go vegan again. Β However, the idea of meatless is appealing. Β We’ve been doing Meatless Monday’s for a while, and we are always pleasantly pleased at how we don’t miss the meat, but Milkman is a fan of meat, so he’s not been in agreement with us all going vegetarian! Β This lead me to make the following proposition to Milkman: Β What if we go Vegetarian as a family, just for the first 2 weeks of June? Β This way we can see how we like it, maybe it’ll make us want to go Veggie for a little longer, or maybe absence will make the heart grow fonder and I’ll be healed of my meat aversion. Β He thought it was a great idea!


So! Β Starting in a week, the Cradle household will be meatless for 2 weeks. Β Don’t worry, I wont turn into a total hippy during this time.


vegetarian


However, I am looking forward to the challenge of breaking out of my comfort zone with cooking, and making new dishes. Β I’ll probably become super annoying on IG with even more food pictures, but I promise I won’t be like one of those diet people on IG, because I won’t be judging what you eat, and it won’t all be health food. Β I do love me some cheese!


Anyways, do you have a favorite Vegetarian dish you can share with me? Β I need some inspiration! Β Must be flavorful, hearty, and satisfying! Β Are you now, or have you ever gone Vegetarian for a period of time? Β Teach me your ways.

GIVEAWAY! Boost Your Morning Brew, with Lifeboost!

Successful parenting can be chalked up to several things. Β Patience, love, creativity, flexibility, and coffee. Β Let’s be real, coffee should be at the top of that list. Β I don’t think ours is the only household for which coffee is a near-sacred ritual. Β It goes beyond the caffeine in our home. Β For some reason 3 weeks after Captain was born, I developed a serious intolerance to caffeine in coffee. Β We aren’t quite sure why, but when I’m pregnant I can tolerate half-caf, but by 2 weeks postpartum, I get hugely jittery, nervous, and sick while drinking caffeinated coffee. Β I am pretty much sure this strange reaction will last for my breastfeeding years! Β So, when I say I am a coffee nut it’s true– because I’m willing to drink caffeine-free just to get the taste every morning.


DSC_0035


I’ve loved coffee my entire life. Β I have super vivid memories of sipping the cold leftovers of my dad’s black coffee with sweet β€˜n’ low in it. Β My mother is hispanic, and in many Mexican cultures, children start on coffee very young with a high milk to coffee ratio. Β I remember Saturday mornings, headed to church with my mom for meetings and her packing me a travel mug of hot cocoa with coffee in it. Β In fact, my kids and nieces enjoy β€œNana Coffee” when they stay at my mom’s house overnight. Β Mornings always come with a cup of milk, coffee, chocolate, and lots of whipped cream! Β Needless to say, just because I had to stop drinking caffeinated coffee, didn’t mean I was going to give up coffee altogether– coffee is in my blood.


DSC_0038


In the last 4 years since becoming a nursing mother, I have tried a lot of decaf coffees. Β Everything from light roast store brand to extra dark espresso beans from Starbucks. Β I love trying new coffees, and just because I can’t have caffeine doesn’t mean I had to give up on finding some good beans! Β But, I’ve found a new favorite in the last month with Lifeboost Coffee.


DSC_0066


Lifeboost is single-sourced. Β It is from a 6-acre farm in the highlands of Nicaragua. Β The farm is surrounded by one of Nicaragua’s National Protected Areas, so the land is totally clean and pesticide free. Did I mention it’s organic and Fair Trade? Β Because it is! Β The Arabica beans are grown, harvested, cleaned, and roasted all on site. Β Unlike other coffees, this is free of mycotoxic presence. Β Myco-what? Β Mycotoxins are produced by molds which are not great for your health and show up in other lower-quality beans. Β This coffee is pure, unadulterated, Arabica goodness.


DSC_0052


So how does Lifeboost Coffee taste? Β We have enjoyed a few different brewing methods with both the decaf medium roast and also regular roasts. Β (Milkman is reveling in having some good, fully-leaded beans in the house!) Β I didn’t think I could enjoy it much more than I did with a coarse grind in the French Press, but over the weekend, Milkman used a slightly finer grind and made it using the pour-over. Β This was ridiculously satisfying. Β Maybe pour-overs and presses aren’t for you, maybe you just like to have a down and dirty machine-drip first thing in the morning, and guess what? Β Still good like that.


DSC_0058


This is the kind of coffee where, if you are used to drinking coffee with cream added, you don’t have to. Β It’s not bitter. Β Delightfully mild without tasting weak. Β Nutty and heady while still being delicate on the palate. You can taste the quality, and as an added bonus to your caffeine (or DECAF as the case may be) fix, you can rest assured that the coffee you are drinking is 100% Certified Organic and Fair Trade.


I enjoyed this coffee so much that after drinking it for just a few days I contacted Dr. Charles Livingston at Lifeboost and asked him if he would be willing to share some Lifeboost coffee with my readers! Β We agreed that no one needs a coffee pick-me-up more than parents, and because they offer both regular and decaf coffee, this is suitable for the parents of toddlers who need all the caffeine they can get or the pregnant or nursing mama who wants the flavor and comfort of coffee without the caffeine!


DSC_0060


Huge thanks to Dr. Charles at Lifeboost for supplying us with the coffee for the giveaway! Β Make sure you check out Lifeboost on Facebook, on Instagram @lifeboostcoffee, and go to their website or their Amazon store to try out their coffee (it’s on Amazon Prime! Β HELLO! No shipping charge and delivered to your door? Β That’s how I like my coffee!)


DSC_0040


So, head to She Rocks the Cradle on Facebook, and check out our giveaway for Lifeboost and enter for a chance to win the roast of your choosing absolutely FREE!
Find me on Facebook, Follow me on Instagram!

Matcha Chocolate Chunk GreeniesΒ 

I’m a mom, therefore I’m tired.
  
Captain is 4 years old, so that means I haven’t slept well in 4 years. My sleep debt is probably close to 13.6 million hours. I had to give up caffeinated coffee since nursing because it makes me super shakey, but I seem to be able tolerate small amounts of caffeine in other forms! 
  

Also, tired people want sugar. I know, I know, sugar is evil and bad for you, but when you’re nursing and sleep deprived and haven’t had a shower by yourself in a week, you want something to perk you up, and what better than something sweet?
  

But caffeine and sugar have little redeeming value in and of themselves, so I decided to healthify my cravings when I bought some matcha powder on Amazon, and created these chocolate chunk “greenies”. 
  

These are seriously delish. If you don’t like the flavor of strong green tea, I recommend eating these once they have cooled. The flavor kind of milds itself out after its cooled. I’m sure you can adapt this with your favorite GF flour if needed and use your favorite sugar substitute if you prefer! These are tasty with a pinch of energy. Enjoy!

8 Tbls butter or coconut oil 

1 cup natural sugar 

1 large egg

1 tsp vanilla

1/4 tsp sea salt

1 cup whole wheat WHITE flour (you can get this at Trader Joes!)

2 Tbls culinary grade matcha powder 

1/2 cup of chocolate chunks or chips 

Pre-heat oven to 350 degrees.

Grease an 8×8 pan or 9 inch pie pan.

Melt butter or coconut oil on the stove or in your microwave and stir in sugar til smooth. Beat in egg and vanilla. Add salt, flour, and matcha until thoroughly mixed. It’ll be a lovely green color! (Add more matcha if you want a stronger taste and/or darker green color). Fold in chocolate with a spatula and spread into pan.

Bake for 22-26 minutes or until set in the center. Cool and slice. Enjoy warm for a stronger taste, or completely cooled for a milder taste with the same energy kick!
  

Find me on Facebook.

Maple Almond Caramel Corn

Over the weekend I had a craving for caramel corn. I do not always cave to pregnancy cravings, but let’s be real, some times you just gotta have what baby is kicking for! 
I didn’t even bother checking my pantry for corn syrup because I knew I didn’t have any. I started thinking of something that would be a decent substitute (One time I tried making my own “corn syrup” and that was a nightmare.) Honey wasn’t the flavor I was going for, but I thought about all the wonderful things my hubby has made substituting with MAPLE! I have a jug of Organic Maple syrup from Costco at all times (Milkman’s family ruined me. We grew up with grocery store off-brand pancake syrup, but his family grew up with maple, it’s made for an expensive sub for pancake syrup but man there is nothing like it!)
ANYWHO! Started to make the caramel corn, and realized my bottle of vanilla extract had tipped over and leaked and I had no vanilla. TRAVESTY! So, I pulled out the almond extract and threw that in. The results were pretty danged good. When it was all done, we sat in the backyard with the kiddos and indulged!
So here it is, Maple Almond Caramel Corn! Enjoy
  
INGREDIENTS

1/2 Cup of popcorn kernels already popped (I use Trader Joes Organic  Popping corn, and here’s how I make it: The Best Danged Popcorn )

1/3 Cup Butter

1 Cup brown sugar

1/2 Cup Maple Syrup

1 tsp salt

1 tsp Almond extract

1/2 tsp baking soda
METHOD:
1. Preheat oven to 250F and prepare two baking sheets with either parchment paper or silpat
2. Make sure your popped popcorn is in a really big bowl ready and waiting to e covered in deliciousness.
3. In a heavy pot, melt butter over medium-ish heat. Then add the brown sugar, maple, salt, and almond extract, whisk til smooth and bring to a boil.
4. LEAVE IT ALONE and let it boil for 5 minutes.
5. Remove from heat and add baking soda, stirring well and begin to pour over your popcorn immediately.
6. Mix your caramel and popcorn til all the popcorn is coated (BE CAREFUL! Caramel is satanically hot.)
7. Divide contents of bowl onto your two prepared baking sheets and shove in the oven for 30 mins.
8. Remove and stir it up on the pan to break apart and let cool.
9. Enjoy!

Whole Wheat and Hidden Spinach Mickey Mouse Waffles!

IMG_0281.JPG
We are Disney freaks. No way around it. I’ve been an annual passholder at Disneyland for 13 years, my husband used to work in Downtown Disney, and when we haven’t gone to Disneyland in two weeks, the babies and I watch YouTube videos of the rides at Disneyland! So! Imagine my elation when I was at CVS to buy nail polish remover and found a Mickey Mouse waffle iron on CLEARANCE! $7.00 to ensure my kids will eat anything I put in it? Of course.

IMG_0283.JPG

We had a rough night last night (the littles have chicken pox and were up a lot!) so I decided a little carb and Disney cheer was in order. One of the things we Disney freaks like to do is find Hidden Mickeys in the parks. So, on that theme, I thought I would hide something in our Mickey Waffles– SPINACH!

I’ve also been reading up on whole wheat white flour. Did you know that 100% white whole wheat has the same health benefits as regular whole wheat flour, while retaining a milder flavor? Well I do now, so I bought this at Trader Joes to try out, and it’s pretty darned good!

IMG_0289.JPG

The kids LOVED them– and so did Milkman and I! You can’t even taste the spinach. We topped ours with Strawberry preserves and whipped cream and my chicken pox babies were happy!

So here ya have it, healthy whole wheat flour hidden spinach pancakes (and you can use any waffle iron, but let’s be real– Mickey trumps Belgian when you are 1 and 2 years old– okay and maybe 28 years old.)

Recipe:

1 cup frozen chopped spinach
1 1/2 cup 100% white whole wheat flour
2 tsp baking powder
1/2 tsp salt
2 Tblsp pure maple syrup (you can use your favorite sugar or honey)
1 large egg
1 1/2 cup milk
1/3 cup coconut oil (melted)
1 tsp vanilla extract

Throw the frozen spinach in your food processor and pulse til finely chopped. Throw in all your other ingredients and whir that baby up! Mine looked like this:

IMG_0282.JPG

Pour into waffle iron.

IMG_0285.JPG

And serve with your favorite waffle toppings! If you’re tiny like Mamitas, you might just wanna eat the ears! Enjoy!

IMG_0287.JPG

Potato Tostadas

I don’t plan on turning this into a recipe blog, but I posted my dinner on IG and FB tonight and I had several folks ask for the recipe. I figure this is the easiest way to do it!

Today was a really rough day with the kiddos. Mamitas has been trying my patience lately and the last 3 weeks with moving and teething simultaneously has left us all exhausted and frustrated. Mamitas cried for 65 minutes straight this afternoon. I was texting my friend, veteran mom of 5 boys and telling her how I wish for my next child to be of the make persuasion if all girls are like this! πŸ˜‰ (of course, I’m kidding! ;)) I knew I needed an easy dinner for tonight that didn’t take much babysitting since I had two real babies to tend to, who were totally PO’ed ;).

Anyways, I just got my kitchen unpacked from moving and money is a little tight at the moment, as moving is not cheap! So I refused to go to the store and was determined to cook only with what was in my kitchen, which is really how I cook most of the time.

The result was potato and meat tostadas. “Potatoes in Mexican food?? I thought potatoes were for Irish cooking!” Oh, how wonderful are potatoes in Mexican food. It’s a staple!

So here she blows!

-Enough corn tortillas for however many people you’re cooking dinner for!
-Ground beef (same quantity as above!)
-All natural tater tots– wait what?? Hey! That’s what I had in my freezer. Also, I’m allergic to raw potatoes so I can’t cook or touch them in their raw state.
-1/4 of a large onion finely diced
-2 tomatoes finely diced
-Lettuce finely chopped (finito, finitos! That’s for you, mom!)
-Tajin
-Hot sauce of choice (we like Valentina, Tabanero, and Pico Pica the best for store bought)
-Oil
-Seasoning for meat (I used chili powder, comino, salt, onion powder, granulated garlic and… More salt! πŸ˜€ all to taste.)

Throw your ground beef in a pan, and since you forgot to defrost the night before, as usual, cover the pan and have the heat low. πŸ˜‰

While that cooks, strap 1 year old into her high chair and throw cantaloupe at her like you would throw meat at a caged lion in order to keep said child from ravaging your house. This is also a good time to chop your tomatoes, onion and lettuce. If you have cheese in the house, grate some up, I didn’t.

Once meat is thawed and mostly cooked crank your heat up to brown it and spice it to your liking. Throw that in a container that you can store it in later, to cut down dishes.

Call husband and confirm he’s coming home on time because the 2 year old won’t stop yelling out the front door for him and he neighbors are gonna think someone is pulling his toe nails out one by one.

Throw some of your diced onions and oil into the pan you cooked the meat in (less dishes=good) throw some salt and pepper in there, get them sweaty and happy. Toss some frozen tater tots in there (or whatever potatoes you have on hand!) make em happy. Throw em in a bowl and cover.

IMG_6349.JPG

Right before you are ready to serve, out a fair amount of oil into that same pan and fry your tortillas in there. It’s not healthy, but it’s delicious. Sprinkle with salt after turning it if you desire. Never too much salt (for those of us with low blood pressure!)

I assembled them as follows: tostada, potatoes, meat, lettuce,
Tomato, generous sprinkling of Tajin, and hot sauce. It would have been even more awesome with cheese, cilantro and sour cream on top, but I didn’t have any.

IMG_6350.JPG

I probably should have taken a picture before I begun scrounging (that’s for you, nan!) but I was hungry.

The kids loved them and so did Milkman, and we have leftovers of everything so tomorrow morning I think I’ll be making Tortillitas with the leftover ingredients (basically scrambled up with eggs!) for breakfast!

Peanut Butter Oatmeal Lactation Cookie Bars!

20140417-100445.jpg

I am a believer in trusting your body and your baby to make sure you have enough milk while nursing. It’s really easy to stress, especially if it’s your first nursling, about not having enough milk. I remember crying to Milk Man that I wished breasts had ounce lines on them! But after doing some research I found that if after a week baby was having 6 wet diapers a day, I had more than enough milk. Captain was having 12 some days! That helped put my mind to ease.

However, when I got pregnant with Mamitas, my milk supply plummeted a lot and fast. Milk Man found a lactation cookie recipe and we made a huge batch. They were good… But time consuming. Also the recipe made a huge batch and half went bad!

I couldn’t keep up with eating them because I hated the taste of brewers yeast when I was pregnant. So they didn’t serve me too well then. I opted for brewers yeast pills.

Then when I had Mamitas I was determined to pump a week’s supply to freeze as soon as I could since I had regretted not pumping enough when it was just Captain. I turned to lactation cookies as a way to help me make a bit more milk to pump. I have never been an efficient pumper. Captain was gaining weight like a champ and yet I would pump for a half hour and only get an ounce from both sides combined! The cookies helped and I got 100 oz in the freezer with a single pumping session a day for 2.5 weeks!

I have a date night coming up this weekend and I need to pump so I was going to make some lactation cookies, but let’s be real. I have a 2 year old and an 8 month old who are into EVERYTHING. I don’t have time to spoon pretty little individual cookies on a tray, bake, cool, and do another tray… And then however many trays it takes til the dough is gone. So, I started thinking about How much easier bar cookies are than drop cookies and I formulated this recipe from some regular bar cookies and added my own twist.

The result was easy and fabulous. Very easy to make, easy to clean up, and easy to eat. Apparently very easy to eat because Milk Man likes them, too! πŸ˜‰ So, don’t worry, fellas! If you sneak one it won’t make you look like Bob from Fight Club or make you leak. πŸ˜‰

Without further ado, here is the recipe! Enjoy!

20140417-100618.jpg

Rachel’s Peanut Butter Oatmeal Lactation Bars!

2 1/4 cups of flour
1 1/2 cups old fashioned oats or coach’s oats
3/4 tsp baking powder
1/4 tsp baking soda
1/2 tsp salt
1/3 cup of brewer’s yeast
1/3 cup of flaxseed meal

3/4 cup (1 1/2 sticks) butter (I microwaved mine to get it soft, mostly melted)
2 cups brown sugar
3/4 cup peanut butter (if you have a stand mixer room temp is fine, if mixing by hand, microwave it with your butter)
2 large eggs
2 tsp vanilla extract
1 1/2 cups chocolate chips

Instructions

Preheat oven to 350F degrees. Line a 13-by-9-inch baking pan with parchment paper or spray with non stick.

In a bowl, whisk together flour, oats, baking powder, baking soda, salt, brewers yeast, and flaxseed meal.

In a stand mixer (or large bowl with a hand mixer) combine butter, brown sugar and peanut butter and mix until smooth.

Beat in eggs and vanilla.

Press dough into prepared pan and sprinkle chocolate chips on top and press down on them lightly. (This may be more or less than the 1 1/2 cups. Depends on your preference ;))

Bake for 18-25 minutes or until edges are lightly browned and center is just set. Do not overbake or they’ll be crunchy and dry. Remove from oven and let cool.

My personal preference is to let them cool but not all the way before slicing. I like the pull the parchment out and slice it on a flat cutting board when it’s still warm but not hot.

However! Brewers yeast has a strong taste. For some reason this taste is more apparent when the bars are hot. So I actually don’t like to eat these while warm. I like them cooled with a giant glass of whole milk!

Bars will stay fresh in an airtight container for up to 5 days. I like to freeze half so they don’t go bad.

20140417-100726.jpg
Find me on Facebook!